Administration
This section explains the administration options available to CloudyCluster Administrators.
This topic includes the following sections:
- Access Groups
- Errors
- Updates
- Collaborator Settings
- Globus
- Login Instance Job Submission
- Reset UI
- Settings
- Remove Control Instance and Databaase
Access Groups
Creating an Access Group
Access Groups allow the CloudyCluster administrator to set up custom access permission settings for a group and then assign selected users to that group.
To create an access group, complete the following steps:
- In the Administration pane, select Access Groups.
- Click the “+” icon to add an access group.
- Enter a name for the new access group and select the check boxes representing the permissions you want to assign to members of this group.
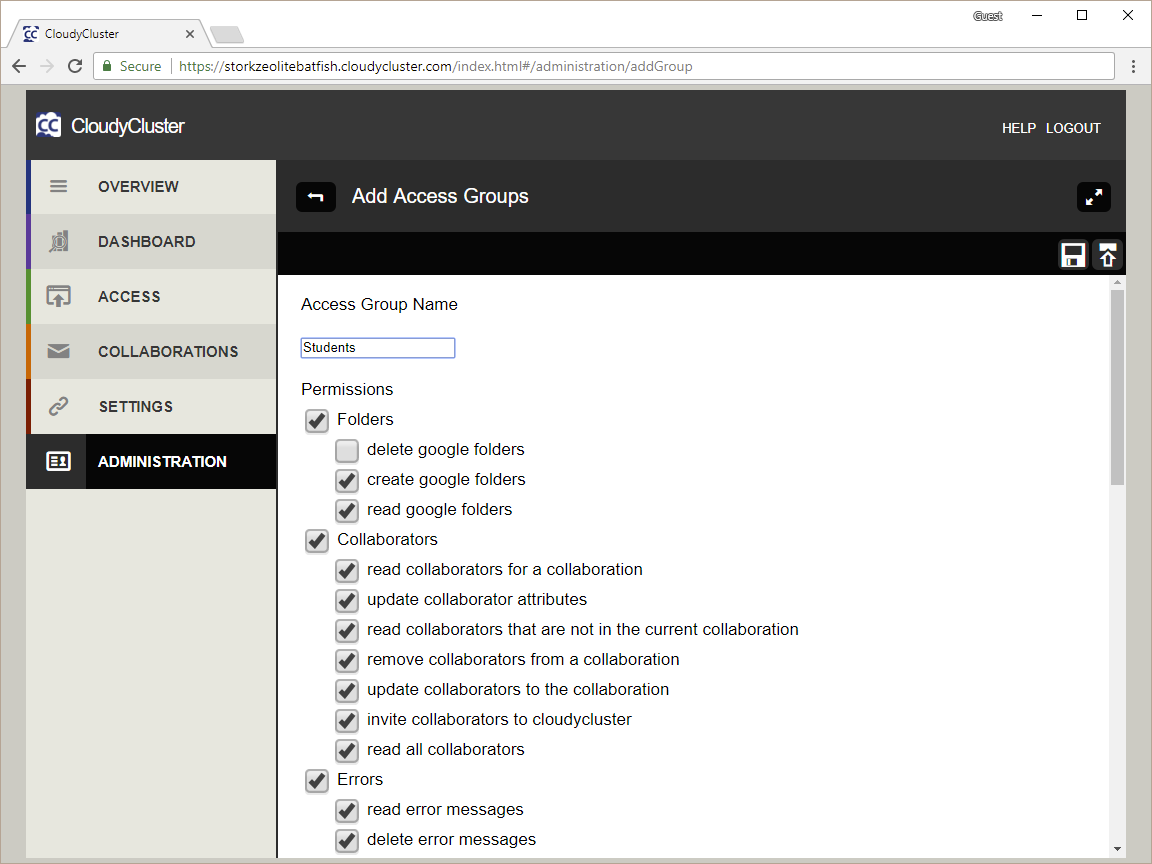
CloudyCluster Access Group Creation Window In this example, members of the Students group will be unable to delete shared Google folders.
- Click the Save icon at the top right to save the group.
Adding Members to an Access Group
Even when you have added members to a collaboration, they have limited access to do anything with your environment until you add them to an access group.
To add members to an access group, complete the following steps:
- In the Administration pane, select Access Groups.
- In the subsequent pane, select the name of the group to which you want to add members.
- Select Collaborators. You will see a list of current members of this access group.
- Click the “+” button at the top left.
- Select the name(s) to be added to this access group and click the Save icon at the top right.
- The new access group members are now included in the list of current members of this access group.
Removing a Member from an Access Group
To remove a member from an access group, complete the following steps:
- In the Administration pane, select Access Groups.
- In the Manage Access Groups pane, select the name of the group from which you want to remove a member.
- In the access group pane, select Collaborators.
- Click the “-” icon and then select the userid(s) for the collaborator(s) you want to remove.
- Click the Save icon to remove the collaborator from the access group.
Errors
CloudyCluster error logs provide a way to trace problems. You can download error logs to send to CloudyCluster support, or you can clear error logs.
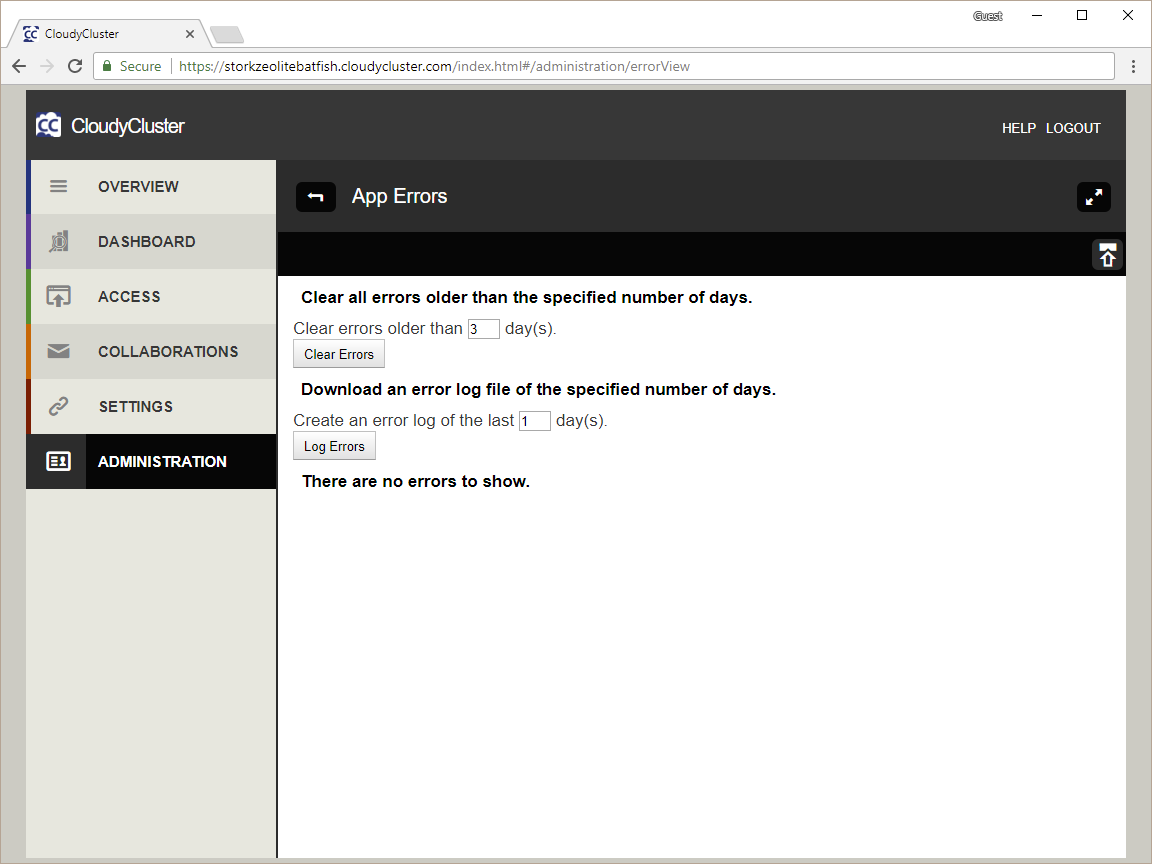
Downloading an Error Log
To export an error log, complete the following steps:
- In the Administration pane, select Errors.
- Click the Log Errors button.
Clearing the Error Log
To clear errors, complete the following steps:
- In the App Errors pane, select the number of days for which you want to retain the error log.
- Click the Clear Errors button. All errors older than the number of days specified will be cleared.
Updates
CloudyCluster updates provide a means to correct some errors and to add new types of authentication accounts, when available.

Updating Permissions
If you are the administrator of your CloudyCluster environment and you receive any “Permission Denied” errors, updating permissions will typically correct this problem.
To update permissions, \In the App Updates pane, Click the Update Permissions button.
Updating Services
Additional federated login account methods may be added to CloudyCluster in the future. You can update services to add any new federated login methods (i.e., Facebook).
To update services, \In the App Updates pane, Click the Update Services button.
Collaborator Settings
The Collaborator Settings pane allows a CloudyCluster administrator to make changes to user settings for any environment user.
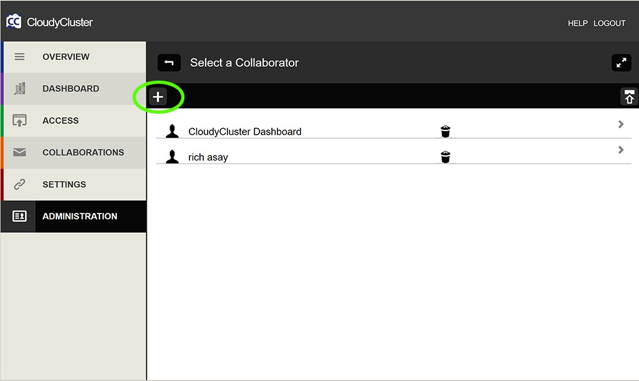
Add Collaborator
To add a Collaborator select the plus sign above the list of collaborators.
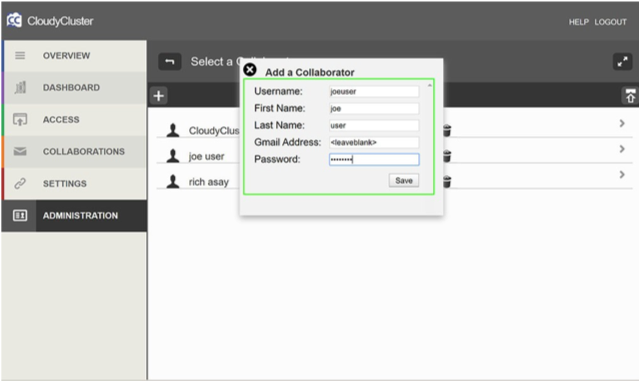
Delete Collaborator
To delete a Collaborator select the trash can icon for the selected user.
Update Collaborator
To update user settings, complete the following steps:
- In the Administration pane, select the Modify Collaborator link.
- Select the name of the user you want to modify.
- Select Edit Details to modify name, password, or email address.
- To change the collaborator’s email settings, enter the new email account settings and click the Save button.
- To enter a different Google email for shared Google folders, enter the Google email address and click the Save button.
- To enter a new password for the collaborator, enter the new password and click the Save button.
- Select Edit Keys to add or delete a CloudyCluster App Key for the selected collaborator.
- Select the + button to add an App Key.
- Select the download icon to download the key as a .key file.
- Select the trash icon to delete a key.
Globus
Globus integration with CloudyCluster makes it easy to move, manage and share files. You must first create a free Globus account, and you can then use Globus to transfer data to and from your environment.
You can create a Globus endpoint for each environment. Each login instance of an environment that has had Globus enabled will become a server for that Globus endpoint. Transferring data to the distributed filesystem folder via the Globus GUI will happen in parallel across all servers for that endpoint.
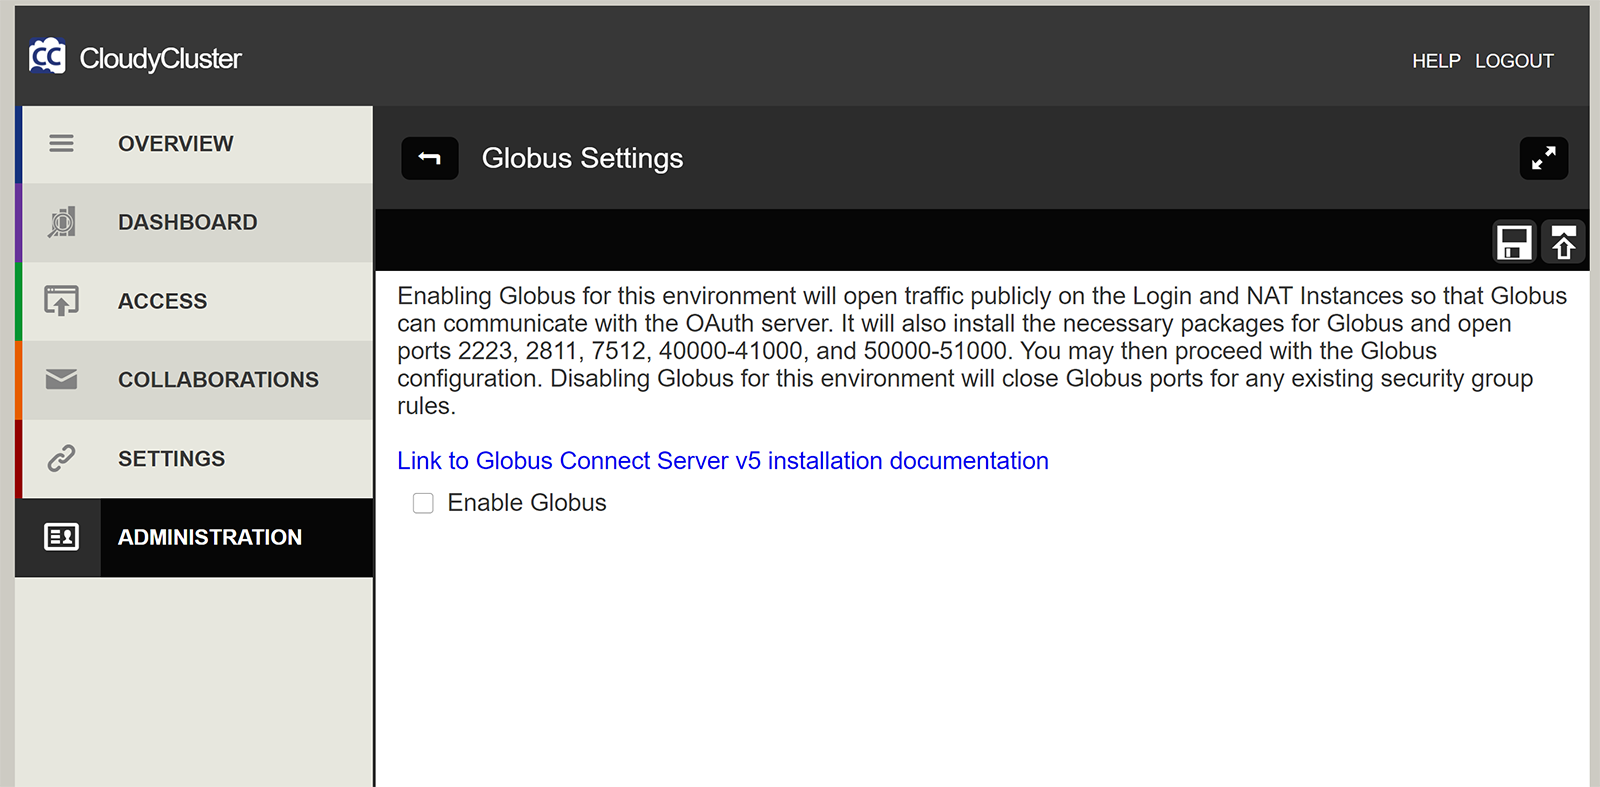
To create a Globus endpoint for file transfer to and from your environment, complete the following steps.
- In the Globus pane, select the name of the environment for which you will create an endpoint.
You can create a Globus endpoint only for an existing environment. If you have not created any environments, please create your environment first.
- Select the “Enable Globus” check box.
- Enter your Globus userid and password.
- Enter a name for your environment Globus endpoint.
- Select the “Save” icon at the top right of the screen.
- Open a new browser tab to navigate to Globus.org, and sign in to your Globus account.
- Select the “Endpoints” link.
- Select the “administered by me” link to view your new environment Globus endpoint.
For more information on how to use Globus to transfer files, see How to Sign Up and Transfer Files with Globus.
Login Instance Job Submission
This function allows you to submit jobs from the login node to the local scheduler without having to SSH to the scheduler from the login node.
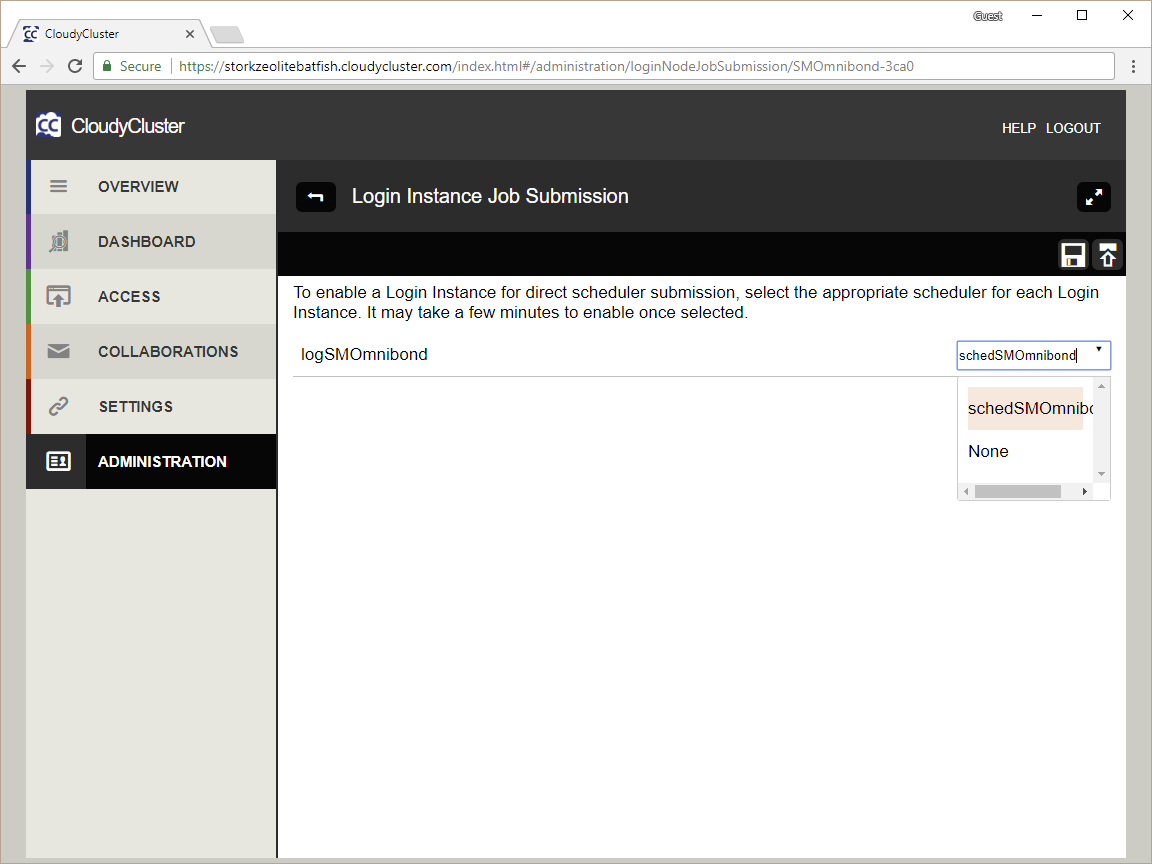
To enable a login instance for direct scheduler submission, complete the following steps.
- In the Login Instance Job Submission pane, select the environment where you will enable the login instance.
- Select the scheduler name from the pulldown menu.
- Click the Save icon at the top right of the window.
Reset UI
If the CloudyCluster UI becomes slow and unresponsive, you can select “Reset UI” to improve response time by restarting the Apache server.
Settings
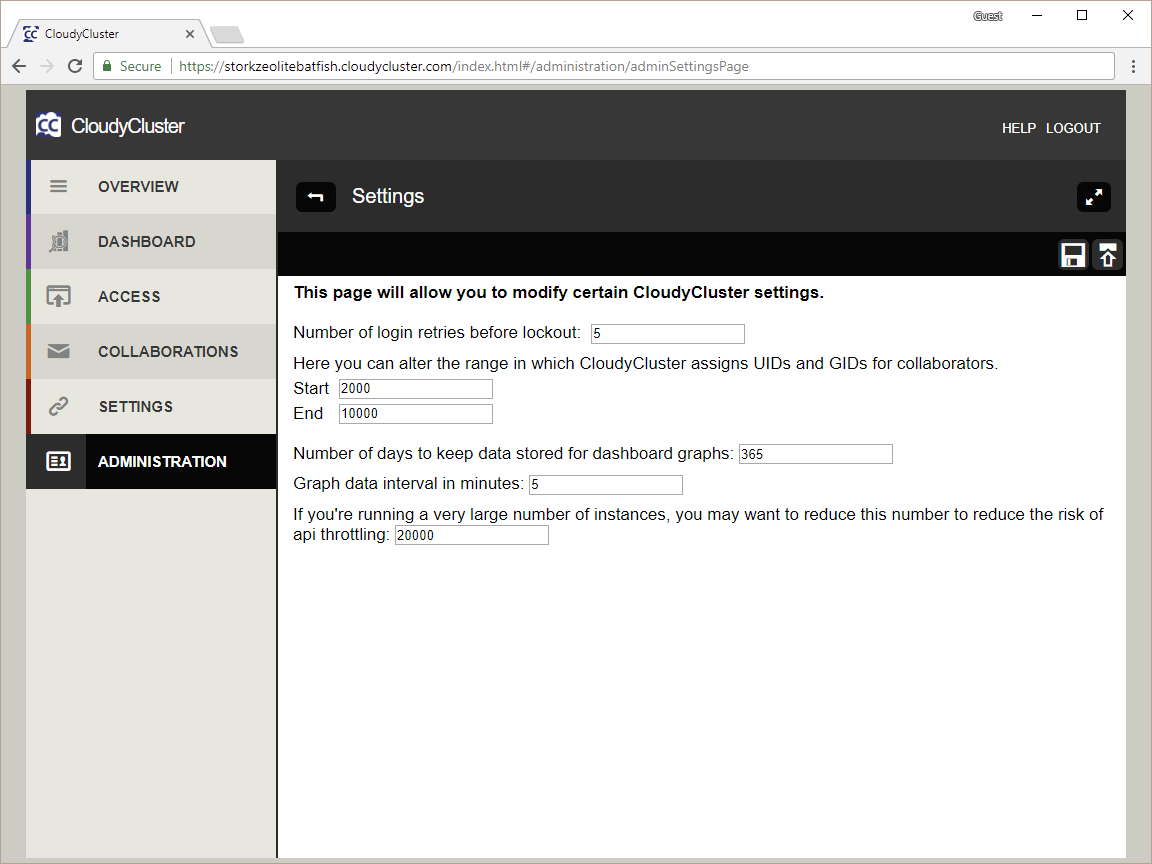
The Administration App Settings pane allows you to modify the number of login retries before lockout. Specify the number of retries you wish to allow.
You can also specify the range within which CloudyCluster assigns UIDs and GIDs for collaborators. Enter the values you want for the Start and End fields.
Dashboard graphs will keep data stored for the number of days you specify on this pane. When the specified number is exceeded, CloudyCluster will begin wiping the earliest data one day at a time. It will maintain the specified number of prior days’ data.
You can change the interval at which Dashboard graph data updates in minutes. If you have more than one environment or more than 1,000 instances in a single environment, it is best to keep the polling interval to not less than 5 minutes to avoid delays in performance. The higher the number of displayed instances, the more likely you are to hit API throttling limits. Instances will still be running but will not be displayed in the UI as running, reducing the volume of API calls to monitor progress.
Remove Control Instance and Database
When you are done using CloudyCluster, you can delete your control instance and database.
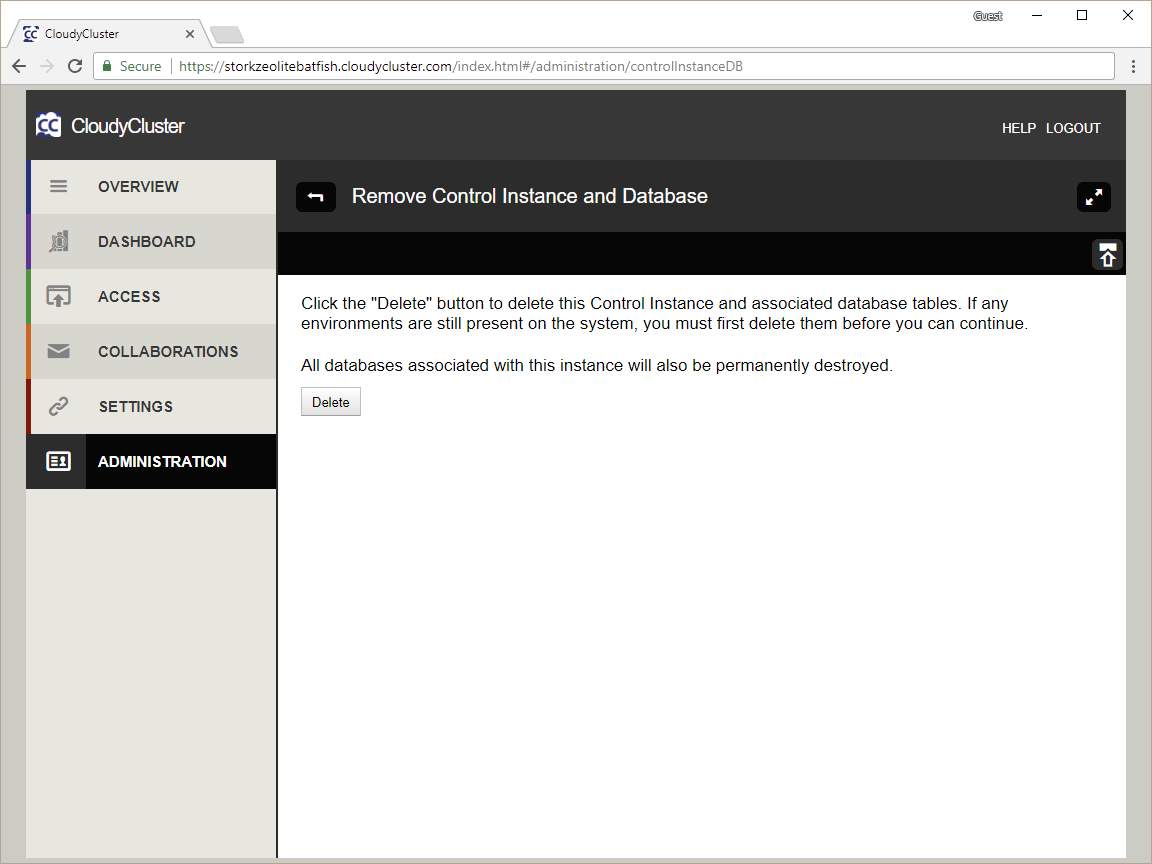
To delete your CloudyCluster Instance and Database, complete the following steps:
- In the Administration pane, select the Delete Control Instance and Database link.
- Click the Delete button.